


News Link • Food Recipes - Long Term Storage Foods
How to Make Lard Bread
• Organic Prepper - 1stMarineJarHeadBy the author of Dear Diary: It's Me, Jessica
So in chapter two of Dear Diary, It's me, Jessica, I mentioned "lard bead." Long-time reader and regular commenter Val, said, "And I'd love the recipe for lard bread!"
Once again, our OP readers are quick and ahead of me!
Here it is!
The Pre-ferment
What is a "pre-ferment?" It is flour, water, yeast and a little sugar to get the yeast fermentation process going. Usually, it is used to add characteristic flavor to your bread. However, if you let it continue to ferment in the fridge for two to three days, it will have a slightly alcoholic smell to it. This acts as a preservative. Your bread will last five to seven days before mold begins to form, depending on environmental conditions. It is a two-fer; both adding character and flavor, and acting as a preservative at the same time.
• ¼ cup of bread flour (room temperature)
• Water lukewarm
• ½ teaspoon dried yeast
• ½ teaspoon of sugar
Mix the flour, yeast and sugar in a clean bowl. Add enough warm water and mix to form a sticky ball of dough. Cover with a clean, terry cloth-free towel and let sit in a warm (ideally upper 70s to low 80s), draft-free place for an hour to a few hours till it rises, nearly doubling in size. Punch down, cover in plastic wrap, and put in the fridge for two to three days. By the second or third day, it should have a slight alcohol smell to it.
The Bread
Lard bread is actually a variant of an Italian bread called Casatiello. Casatiello bread adds eggs, butter, chunks of hot smoked ham, cooked fresh or cured sausage, and cheese (note: Val suggested cheese too! She is sharp as sharp cheddar cheese!). In this case, we are going to use lard or bacon fat in place of the eggs and butter. It adds both flavor and the calories that Jack, Jessica, Rae, and Savannah will need for their mission to the city and saves the eggs and butter for other uses.
• 2 cups of bread flour (room temperature)
• 1 cup of whole wheat flour (room temperature)
• ½ teaspoon of dried yeast
• ½ teaspoon of sugar
• 12 oz of luke warm water
• 5 tablespoons of lard or bacon grease in liquid form
• Pre-ferment
• 5 to 6 slices of cooked bacon, crumbled (or diced hot smoked ham, cooked fresh or cured sausage)
• Chunks of a flavorful cheese (mozzarella, smoked gouda, sharp cheddar cheese etc.)
Add the yeast and sugar to the water and allow to proof/become frothy in about 10 minutes give or take a few.
Mix the flours together in a mixing bowl. Add the water/yeast mixture, lard, and pre-ferment. Mix well to form a slightly tacky ball of dough. Add flour or water to adjust accordingly.
Cover with a terry-cloth-free towel and set in a draft-free, warm place to rise. After the dough has risen to about twice its size, turn it over in the bowl, then again about thirty minutes later.
On a clean, lightly floured surface, pour the dough out. Lightly flour the top of the dough. Turn the dough over once then gently stretch it out.
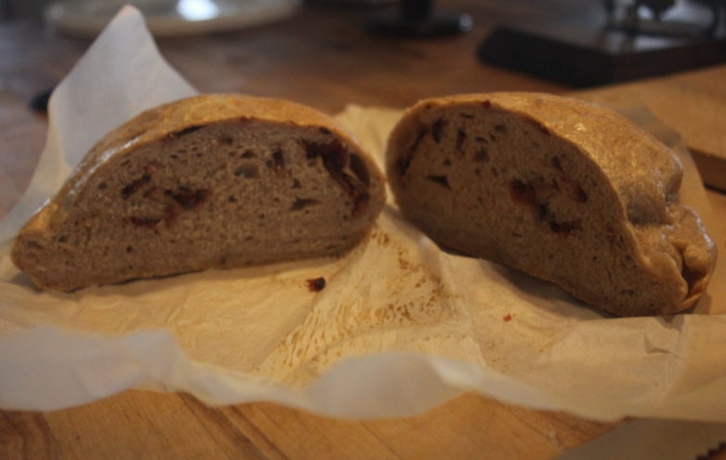
Add half of the meat and cheese. Fold the dough over on itself. Add the other half of the meat and cheese and fold the dough over itself again (If you are feeling really punchy, add a third layer of meat and cheese and fold again!)
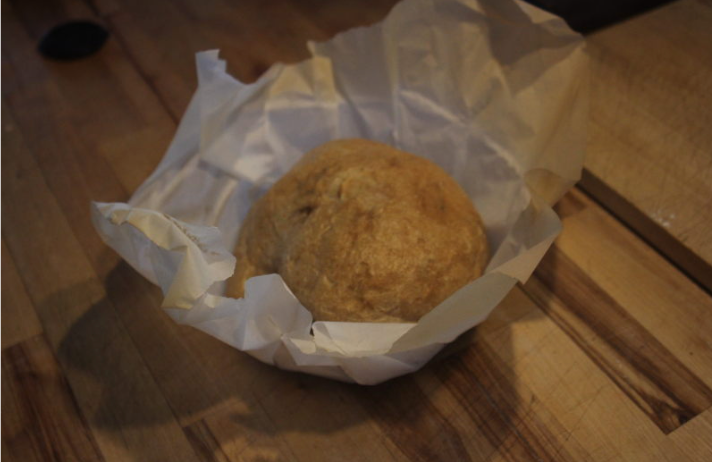
Gently form the dough into a ball and place it on a piece of parchment paper. Cover with your towel and allow it to rise again.
Dutch Oven Method
I use the Dutch Oven Method to bake bread. I use a cast iron Dutch Oven or similar heat-proof pot, sized in relation to the size of the bread I am baking.
Place the Dutch Oven or pot with lid into the oven. Pre-heat the oven to 450 degrees.
Once up to temperature, with oven mitts, carefully place the hot Dutch Oven or pot onto a heat-proof surface. Put one ice cube (provides steam for a rich, crunchy crust) in the bottom of the Dutch Oven or pot.
Remove the cloth from over the dough, pick up the dough by the parchment paper, and place into the hot Dutch Oven or pot. Cover with the hot lid.
Return the Dutch Oven or pot to the oven. Set a timer for 10 minutes. After 10 minutes have passed, remove the hot lid and place on a heat proof surface to cool.
Set the timer for 20 minutes. After 20 minutes have passed, check the bread (oven temperatures can vary from oven to oven). Your bread should be a rich, deep golden brown color. If not, bake for an additional 5 to 10 minutes or until you get the desired color. Don't burn it, though!
Remove the Dutch Oven or pot and place on a heat proof surface. Using the parchment paper, remove the bread and place it on a wire rack to cool.
Enjoy!
Let us know how it turned out if you make it. What would you add into the dough? Is this something you'll try out?
Let's talk about it in the comments section.
About 1stMarineJarHead
1stMarineJarHead is not only a former Marine, but also a former EMT-B, Wilderness EMT (courtesy of NOLS), and volunteer firefighter.
Watch Streaming Broadcast Live:
LRN.fm
DLive

Telegram


